- Home
- About CDI
One of the great benefits that you get from introducing Lewis Deck into a residential development is the option to install a wet room floor into bathroom/ en-suite areas with extreme ease compared to other flooring systems as well as maintaining one solid concrete slab in the room reducing the possibility of leaks from a number of different materials being used to create the floor.
When we talk about the benefits of what Lewis brings to a project this seems to be one of the benefits that seems to get lost in conversation with people generally wanting the acoustic or solid floor improvements before anything else. However, over the last few months (with us spending a lot of time at trade shows) both myself and Chris have been having more and more conversations with people looking to add that little bit extra to their bathroom areas by having wet rooms rather than traditional bathroom and shower areas.
This posed us a bit of a dilemma, how do we get the point across to people that Lewis is the material of choice when it comes to thinking about upper floor wet rooms.
The answer, Swindon.
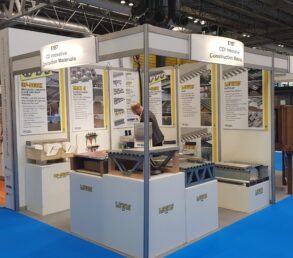
As has been mentioned in a number of different places on this website we have a permanent stand at the National Selfbuild and Renovation Centre in Swindon.
This is it!!
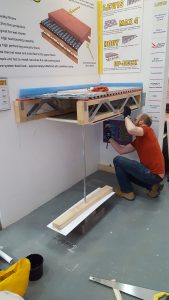
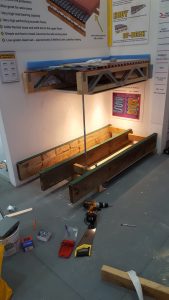
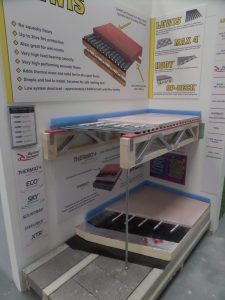
(and this is what the stand looked like last week)
Stand E171 was, once upon a time, shared between ourselves and Gyvlon, the screed manufacturer. Earlier this year however, Gyvlon decided that they no longer wanted to share the stand so we took over the whole (even though it’s only small) thing!
With us being based in the north east we needed a reason to go down to Wiltshire and replace the bottom model with something new so this was the perfect time, and the perfect reason, to go down and update what we have down there.
So, a couple of weeks ago we set the plan into motion. First of all we needed old timbers to replicate joists in a house. Chris found the local timber reclamation yard and off we went to pick up a few bit of wood from it. When we got there it was closed!! Who knew Google told you when businesses were open and closed!
We eventually got going and over the next week or so the new model started to take shape.
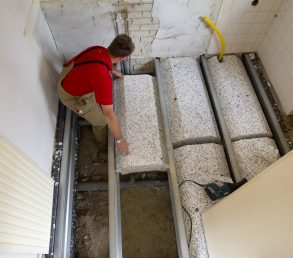
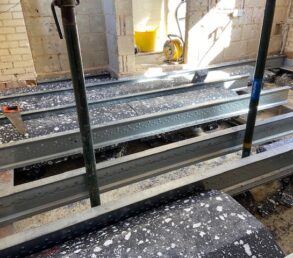
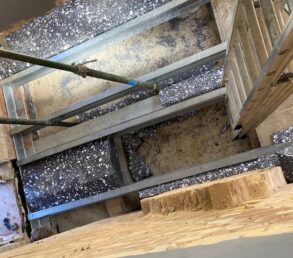
One of the things that we wanted to do with this new model was show people how easy it is to install a drain into the Lewis and then create the falls to allow the room to function as it should. With that in mind below you’ll see a number of photos showing you how easy it is to install a drain into Lewis then create the falls!!
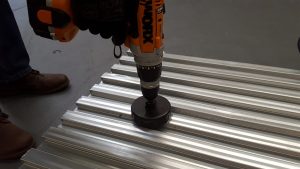
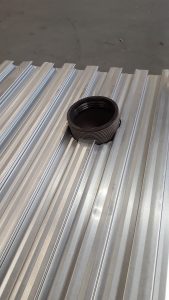
Firstly cut a hole through the steel deck large enough for the waste pipes to fit through. I say large enough seen as though the first time we did it the hole was just too small!
At this point the waste pipe can be inserted into the deck and the drain fixed into position within the drain as below.
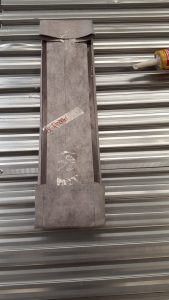
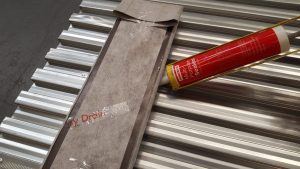
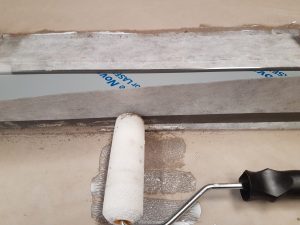
Once the drain is in place ensure that the whole connection is sealed and that the hole that was cut into the steel is also sealed completely. This then ensures that no concrete screed leaks through any gaps when it is poured.
Once all the sealant is dry you can then look to install the concrete screed. Care must be taken to ensure that the concrete fully runs underneath the drain. In this case as we have used a slot drain we made sure that we forced the concrete completely under the whole of the drain. If this isn’t done correctly then there is a chance that as the concrete dries and cures that is slips and finds the gaps that haven’t been filled. This then causes shallow areas that will need to be filled with a levelling compound before the floor finishes are added.
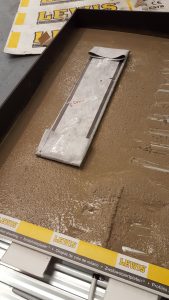
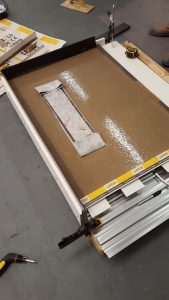
Follow the screed instructions on curing and drying before attempting to start sealing the floor and adding the floor finishes.
Simple job to finish the floor. Tank and seal the concrete, then tile ensuring that the fall on the floor is maintained and that the water follows gravity into the drain.
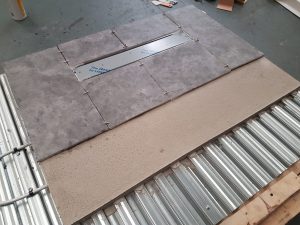
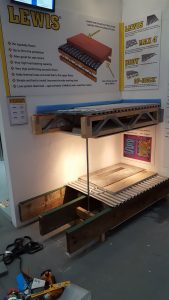
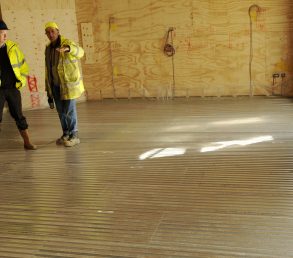
And here’s our finished model sat in the warehouse ready to be taken down to Swindon.
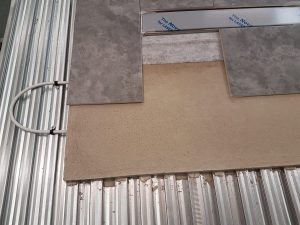
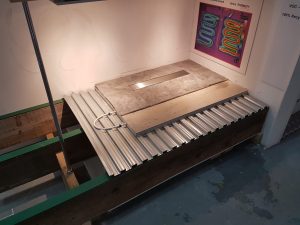
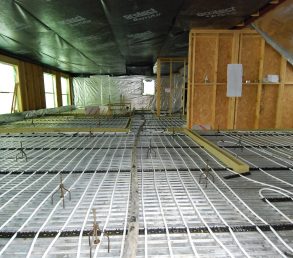
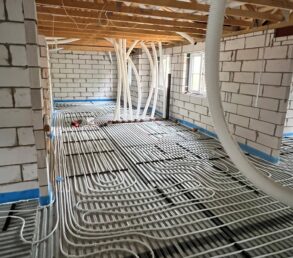
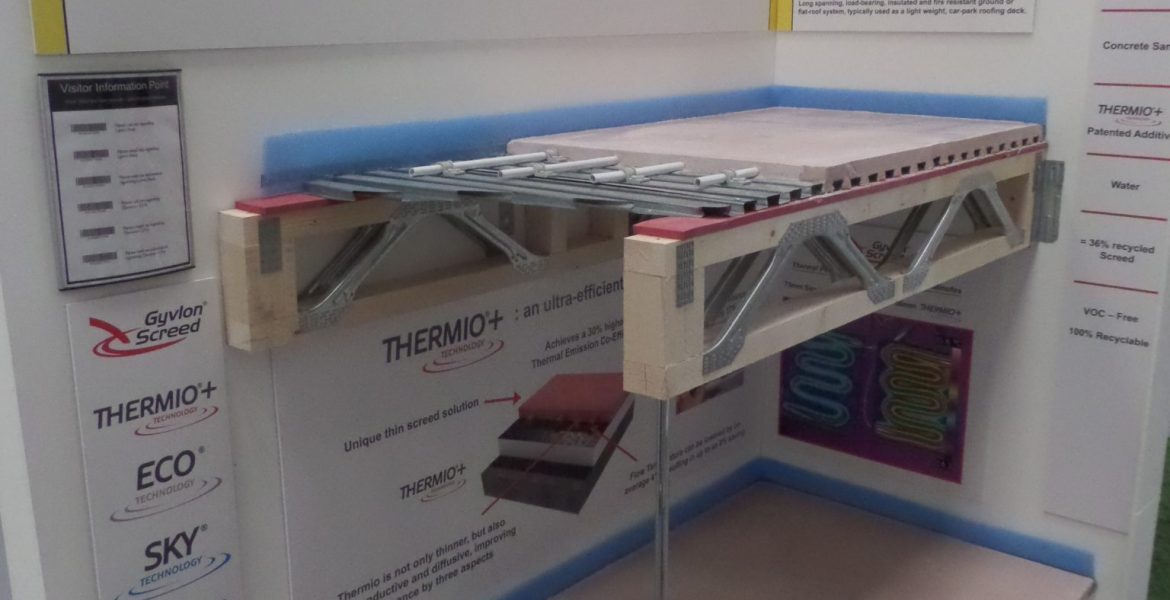
You’ll have no doubt noticed that we’ve added underfloor heating pipes into our model. This is because one of the big benefits of using Lewis is the underfloor heating system works much efficiently with the Deck than with other systems.
Here we are showing our new thinner screed/ UFH system with a 10mm pipe within a minimum 36mm screed. This then allows for less weight and also less thickness for renovation projects where you are dealing with older joists that may not be able to hold the loads that new joists can.
All that was left for us to do was transport the model down to Swindon. And as you can see from below that was done this week and the model is now in place looking splendid. Just don’t ask us about the journey from hell down to Swindon on Monday this week to carry out the work! Lets just say both me and Chris set off very early and got back home very late that day!
Should you want to come and visit our new updated stand at the National Selfbuild and Renovation Centre in Swindon then you will find the address here www.nsbrc.co.uk/contact-us. Even better, if you would like to come and have a chat with us here we’ll be exhibiting here this coming weekend from Friday 19th May to Sunday 21st May. All details can be found in the events section of this website.
Case Studies
Self Build & Renovations
FAQs22
Ask CDI a Question
Ask CDI a Question-
Q
What are the Lewis Deck sheet sizes?
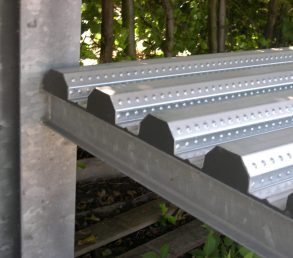
AQ: What sheet sizes are held in stock for delivery within a few days after order? A: We stock 2500mm and 1300mm sheets. These are all 630mm wide and 16mm deep. Deliveries are made via the pallet network directly to site. The smaller sheets are aimed at small bathroom renovation projects and can be supplied in small numbers via TNT. 2.5* and 1.3m sheets allow for the 100mm overlap to occur over a joist, with joist centres being either 300mm, 400mm, 600mm, 800mm*, 1200mm and 2400mm*. (*2.5m sheet only) For larger projects we are able to produce bespoke sheet sizes if required, please get in contact to discuss other options for sheet sizes.
-
Q
Why don't my Lewis sheets interlock like they do in the video?
AQ: Why don't my sheets interlock like they do in the video? A: The sheets have two sides (one printed, one plain), the dovetails on either side are different widths, it is then necessary to alternate the sheets print up and then print down.
QIs this a question?
AIf it is, this is an answer.
Latest Blog
CDI 2025
Is Underfloor Heating Compatible With Carpet?
11th October 2024
At Every Exhibition We Get Asked Can You Have Underfloor Heating With Carpet? Hopefully here we explain why the answer to that is YES. With carpet providing a soft, luxurious feel to your home many people ask whether underfloor heating and carpet can go…
View AllCow Close Barn with Heat Pump and Underfloor Heating
26th May 2023
Paul M contacted us in early 2022 to discuss the use of the Lewis Deck system following a recommendation by his Ground Source Heat Pump system installer. We worked through the drawings and provided a quote, the Lewis Deck and…
View All2022 Has Begun and Exhibitions Are, Fingers Crossed, Back To Normal.
21st January 2022
Starting on Friday 28th January, now that COVID has magically disappeared, we are heading back on the road and will be exhibiting for a full year for the first time since 2019. Next Friday sees the first exhibition at the…
View AllChat Live
Hi you're speaking to Dave, how can I help.Website by Indigo
-
 (and this is what the stand looked like last week)